


 |
| "Santa Claus Cookies" circa 1950 |
As I wrap up this series of "Cooke Jar" cookies this December it seems appropriate to end with "Santa Claus Cookies". Even though our girls are all grown up, I still put out cookies for my Santa, they never go unappreciated. Of course all of us get even more busy in the last few days leading up to Christmas day, and even if we enjoy baking it seems like just one more thing, but these cookies were so very easy, and tasty too! They would make really great little presents to hand your delivery persons when they ring the door bell. I could see them in little baggies tied up with pretty ribbon as a thank you. So let's get on with my observations.
 |
| Time to open the pages to "The Fantastic Fifties" |
 |
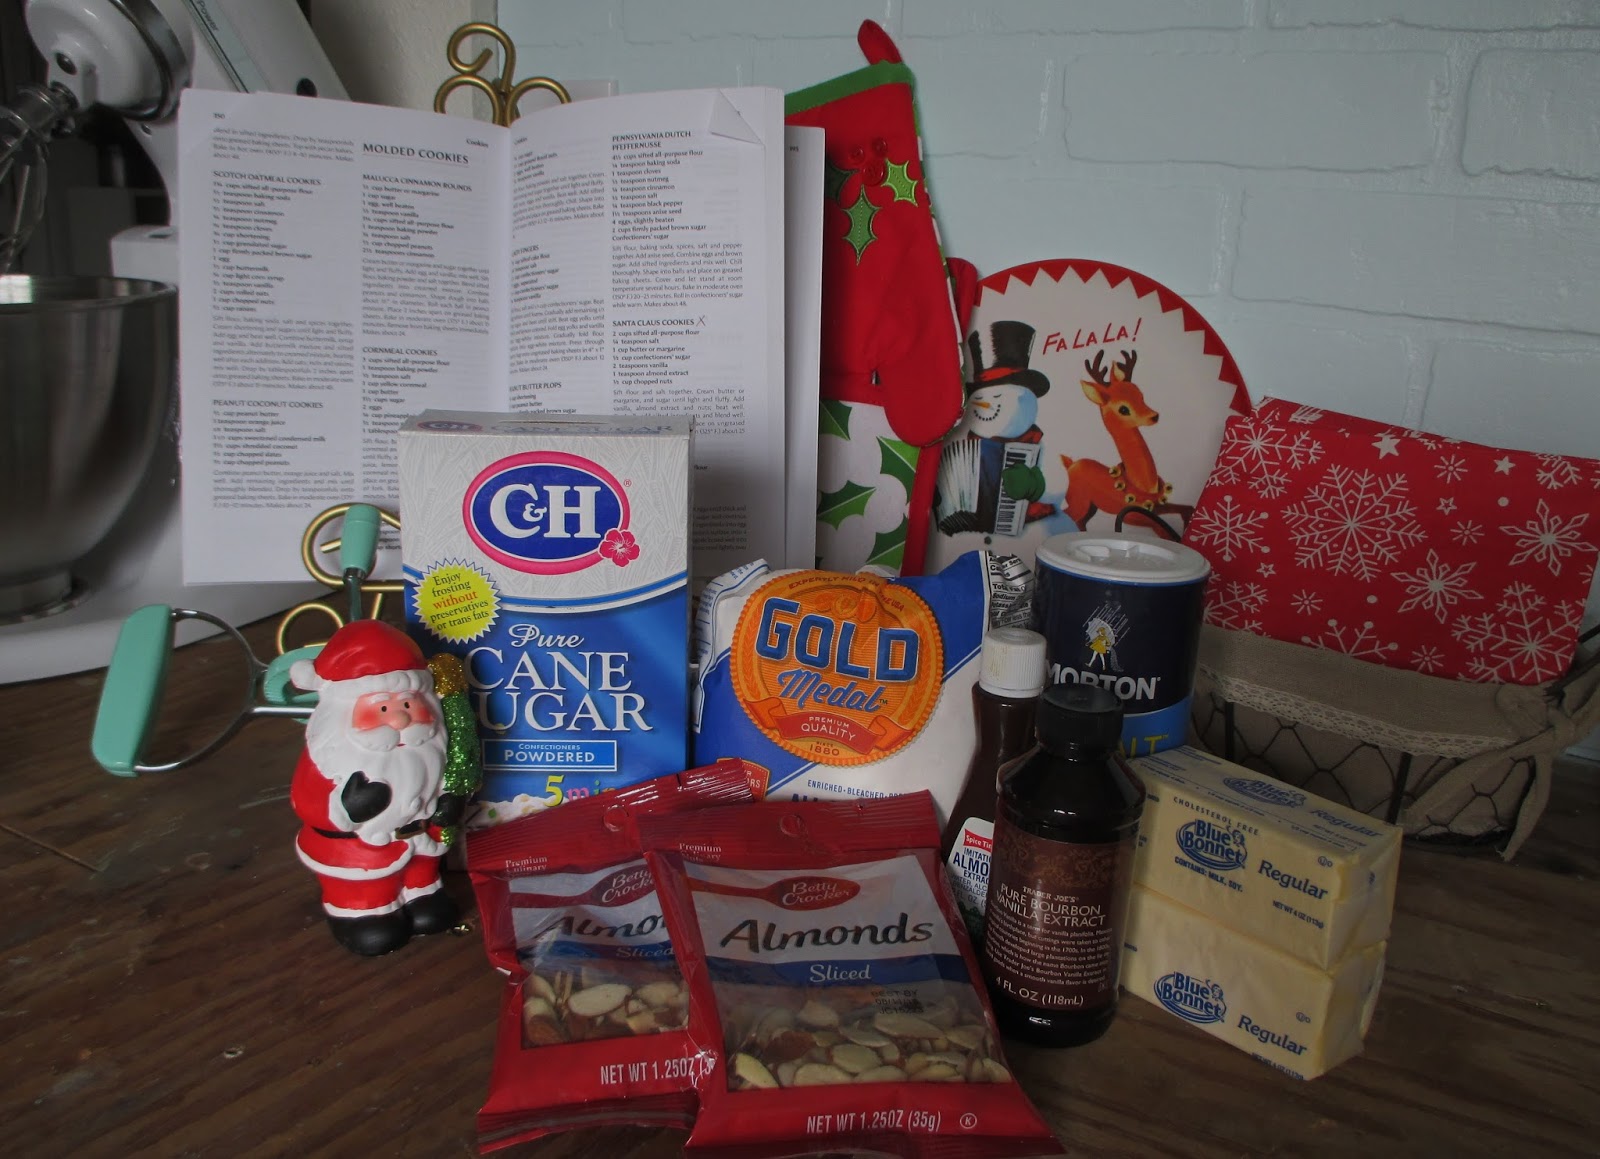
| I always lay out my supplies ...OH look! Did you notice I bought a cookie scoop? About time! |
Observations, Results and Improvements...
Reading over the recipe, it was a simple one and even one I could easily memorize, and I do not say that very often. There was not too many steps, which I liked, so prep is quick. What I did not like is that they bake low and slow, meaning a 325 degree oven for app. 25 minutes, so this is not a quick to bake up recipe, you have to carve out some time for this one; gives you time to clean up and have a cup of tea tho. The dough is pretty dense, and having learned my lesson this month I decided to use my stand mixer, if you do not have one, use a wooden spoon after you use the hand mixer to cream the sugar and butter/margarine. The recipe says it is a "molded" cookie, which means that the scoop or your hands are necessary, considering how long my nails are right now, I am glad I bought the scoop! It directs the maker to make one inch balls, my scoop as it turns out is more like a two inch scoop, so the size is like a smallish golf ball and the cookies should apparently be more like melon ball size. The recipe is to yield app. 40 cookies, I got 24 because mine were double the size. Baking time said 25 minutes, my first batch I baked for that and I feel they really needed one more minute. Great tip is to test the tops and if they spring back they are done. The cookies do not spread out. I do not know if they would had I used butter as opposed to margarine, as there are no photos in the book it is hard to know; they could be meant to be marble like cookies. Once they were done baking, cooling etc, they are crisp on the outside, say like a drop biscuit, and soft on the inside, moist too. As I said they taste really yummy, not too sweet, rich, even using the light margarine, and a faint taste of the almonds and vanilla. So would I make any improvements? I think I might like to try them in the smaller size, I also think that just out of curiosity I would like to smash them a bit and maybe add a slice of almond and sprinkle with raw sugar... of course baking times would then be cut due to not being round balls. My daughter said she could see them rolled in powdered sugar, if left in the original form, then baked, rather like a Mexican Wedding Cookie or a Russian Tea Cake Cookie or Almond Crescent Cookie ...I think she might be onto something there. No matter what route you take with them, I very much encourage you to give them a whirl!
Let's Get Started!!

 |
| I always lay every thing out ...not just for photos. |
 |
| I accidentally bought slivered almonds... |
 |
| No biggy...very easy to do a quick chop. |
 |
| I always sift my dry ingredients even when it does not call for it. |
 |
| Time to cream the sugar and margarine |
 |
| Yummy! So fluffy and pretty! |
 |
| Now you throw in the extracts and chopped almonds. |
 |
| When done this is your dough. |
 |
| Not knowing what the spread would be like the first batch I only did nine...turns out they do not spread, so the next batch I fit on over a dozen! |
 |
| You can see that I made 2 inch balls and spaced them about the same distance. |
 |
| While one batch bakes, put the rest of the dough in the fridge, just for food safety, though I did find it easier to scoop once it was chilled. I could see this dough being formed into a log as well and sliced to bake, or even frozen for later use...just be sure to adjust bake times. |
 |
| The longer bake time gave me ample time to clean up and have a cup of tea. |
 |
| As you can see they basically stay in the same shape as what they went in as. To test doneness, touch the top to check if they will spring back, also a tooth pick coming out clean is a back up. |
 |
| My first batch were very moist when broken open right out of the oven, I ended up baking the rest for a full minute more just to make sure they were done, but they are just butter/margarine , powdered sugar and almonds, so thinking the moist look is normal. They did loose most of that appearance after they baked one extra minute and cooled. IF they were the correct size, I feel 25 minutes would be perfect. |
Happiest of Holidays!
From my heart to yours ....


Yummy! So many of the best Christmas cookies (IMO at least) from the mid-twentieth century. Oodles of mine are from that era, often handed down from relatives, and I couldn't imagine the holiday season without at least a few of them each year. Thanks for sharing this lovely classic with us. I might just have to whip up a GF version before the ornaments come down next week. :)
ReplyDeleteBig hugs,
♥ Jessica
*PS* Your festive ensemble is absolutely smashing!
I so very much agree. Next year I might do bars and breads/cakes, but will for sure make these again!
DeleteThanks sweetheart!!